Review: Smile Brilliant At Home Professional Teeth Whitening
The struggle is REAL with whitening products. I've always been a bit obsessed with having non-yellowy teeth. I don't drink coffee or soda, which tremendously helps. But, still my teeth yellow over time because girl you know I'm drinking 1 billion cups of tea and chlorophyll water a day. (shrug) Plus, have you jumped on the wild blueberries bandwagon yet? Holy stains. The price we pay for those antioxidants.
I've done all the things. The whitening strips —TOTAL NIGHTMARE. They never stayed on my teeth and I don't have time to sit there and hold them on, while wiping up my drool every 2 seconds. The whitening pens, which freak me out because you put it on and go about your day? I feel like I'm basically eating the gel. No thanks.
My husband bought one of those LED lights and that barely worked because it's just not nearly as strong as what you'll get at the dentist. Then there's the white gums (and marks on your teeth) and sensitivity issues — it's all just a MESS. Alot of you ask me about charcoal whitening, but after some research, it appears that is actually abrasive? I guess charcoal, no matter how fine, cannot penetrate the pores in teeth and is abrasive to the enamel; therefore any surface stains removed are due to enamel erosion. This will lead to permanent damage and sensitivity. SO WHAT DO YOU DO?
Honestly, I had never heard of Smile Brilliant until they reached out to see if I'd like to try their custom teeth whitening system. I did a little research, scoped out the ingredients, and said I'd love to try it.
Here's what I liked about the Smile Brilliant Whitening system:
includes a kit for making impressions and customized whitening trays (translation: every square inch of your teeth gets covered, and they also won't fall out!)
it's longer process, but delivers permanent results as it lifts deep stains, rather than temporary results from surface whitening
addresses post-whitening sensitivity by including sensitivity gel for after each use
so easy to use —I could blog or cook while whitening
Let me show you how easy this process is!
Making Your Impressions
I don't need to walk you through everything because they include very specific instructions for each part of your whitening system.
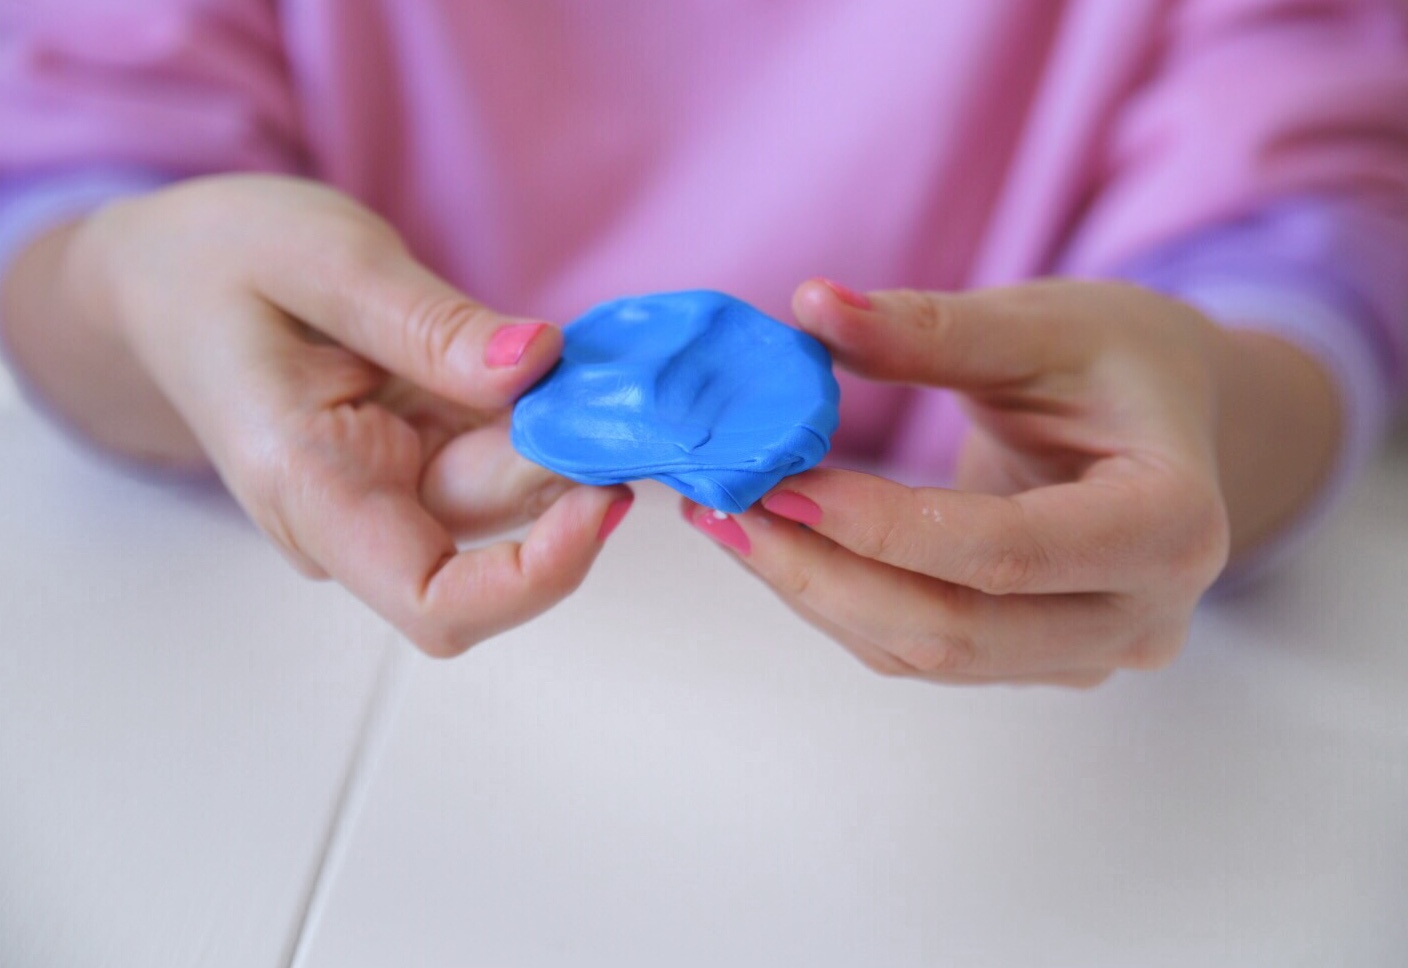
You receive 3 sets of catalyst + base paste. You will only two sets, but in case you mess one up they've included an extra! You will mix them up, according to directions, until you form a bright blue paste.
Once you have your paste, you press it into your molds and follow instructions for creating your impressions.
After they've hardened, simply place them in the provided envelope and mail them off to get your customized trays! SO EASY.
Whitening PROCESS
After you receive your trays back, you're ready to whiten! You receive 4 syringes each of the whitening + desensitizing gel. I got 5 treatments out of one syringe, so these will last me a long time. If you have more intense stains, you might need more treatments initially to bring them up.
Results + Final Thoughts
I was totally shocked how white my teeth were on even the first treatment!
I didn't feel any sensitivity at all, but still continued with the sensitivity gel just to prevent any issues when eating.
I really enjoyed the ease of the process — it was seriously the most non messy whitening I've ever tried.
I definitely believe this is worth the cost —as you'll have the trays forever and just need to get more whitening gel.
Here's my before and after — my teeth weren't horrible to begin with, however, the biggest thing I noticed was the stains down by my gums went completely away (it was very yellowish although it doesn't show as much on here). Overall, much brighter!
For any purchases on the site use "celeryandthecity15" for 15% off!
Wondering who's the mysterious wordy genius behind these posts? Follow this little rabbit trail to read more About Me! The use of the term genius is open to interpretation. Like just about everything else on this site.


